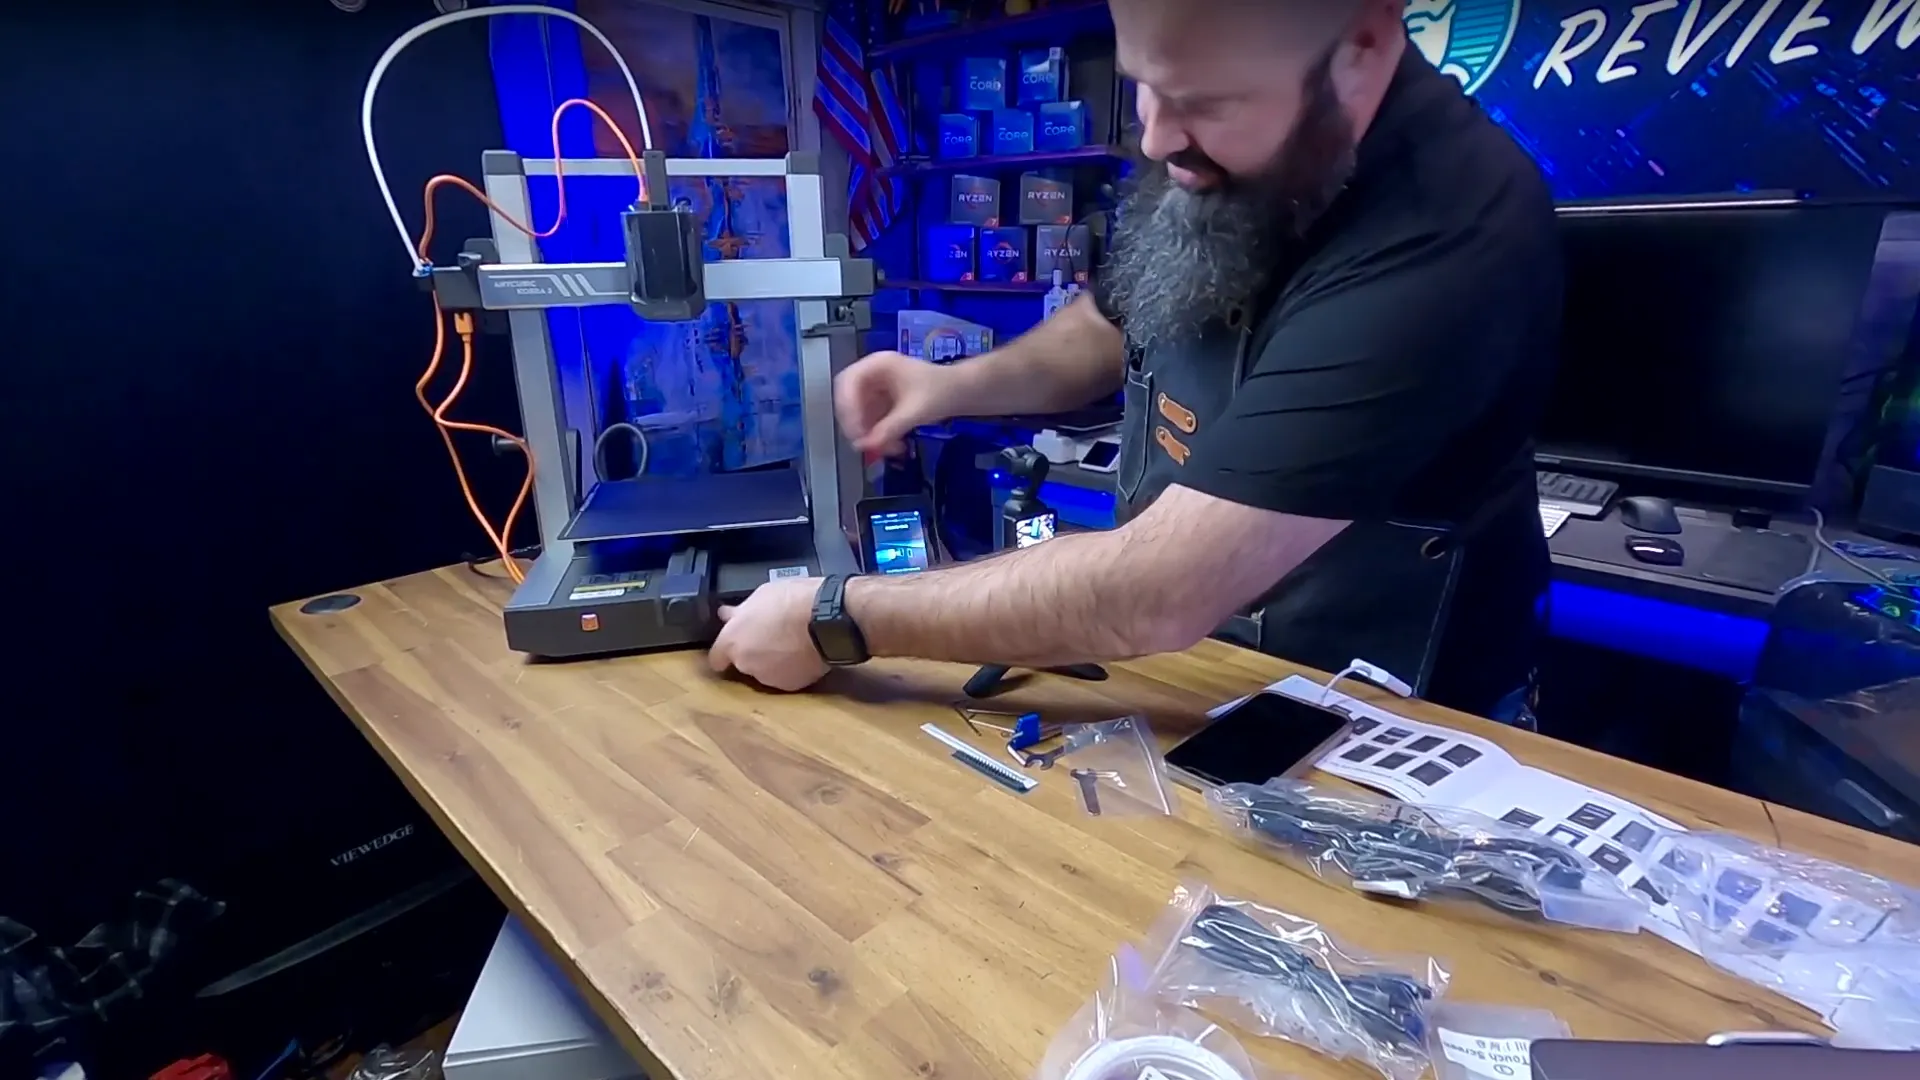
Hey, it’s Jon, “The Net Guy,” and today we’re going to dive into the Anycubic Kobra 3 Combo Kit! This is a full-size 3D printer that also features a multi-color filament system and an enclosure for drying your filament. This is my first experience with Anycubic printers, although I’ve used their filaments before. I’ve heard a lot of great things, and I’m excited to check it out, so stick around!
Considering this item? Using my Amazon affiliate link here earns me a small commission. Thanks!
Unboxing the Anycubic Kobra 3 Combo Kit
The box dimensions are 20 inches by 20 inches by 20 inches, and it weighs around 38.5 lbs. Upon opening the box, the first thing I noticed was the user manual, followed by a USB key, screws, and various tools. There’s a four-pin cable, the print head, and a standard PC power cable. The touchscreen display is included as well as a filament spool and spool arm.

Assembly Process
Assembly is required, which is more than some models like the A1 Mini. To start, you’ll need to press the print head cable down and insert it into the slot above the print head. Then, install the print head from the back of the printer using the provided screws. The touchscreen mounts easily, and it’s adjustable for angle, which is a nice touch.

Next, you’ll want to install the standard filament tube and the spool holder. This setup allows for using multiple filaments, making it easier to create multi-color prints. Once everything is securely in place, plug in the power cable and ensure the power supply is configured correctly.

First Impressions
After powering it on, the touchscreen is very responsive, although I worry about scratching it since it has a plastic covering. I recommend considering a screen protector if you plan to use it frequently. The printer confirmed Wi-Fi connection, and I plugged in the USB for longer print jobs with multiple items.

Initial Test Print: The Benchy
For my first test print, I used the PLA that came with the printer. It’s always nice to see how the manufacturer’s filament performs. I set up for a 15-minute Benchy print, which could potentially be a record for me. As the print started, I noticed that it was heating up to around 255 degrees Celsius.

The print was progressing quickly, and by the time it reached 80% completion, the sound level was relatively low, aside from some vibrations from the larger build plate. The print quality looked good, but there were minor imperfections, especially on the corners. As it finished, I could see that it had printed successfully in 15 minutes, which is impressive!
Quality Comparison and Final Thoughts
Comparing the Benchy printed in 15 minutes to a standard one, the quality was similar, but the speed meant some minor stringing and a bit of material missed on a corner due to the filament not loading completely. Overall, the Anycubic Kobra 3 Combo has made a solid impression on me.

While there are a few things to improve, like the off-axis viewing of the touchscreen and concerns about scratching, the assembly was straightforward for someone following instructions. If you’re coming from a model like the Ender 3, the Kobra 3 offers a larger print bed, hotter temperatures, and faster printing speeds, making it a significant upgrade.
Keep an eye on my channel for more videos about the Anycubic Kobra 3 Combo, and thanks for watching!
Considering this item? Using my Amazon affiliate link here earns me a small commission. Thanks!
Don’t forget to subscribe to my YouTube channel at The Net Guy for more reviews and insights!
