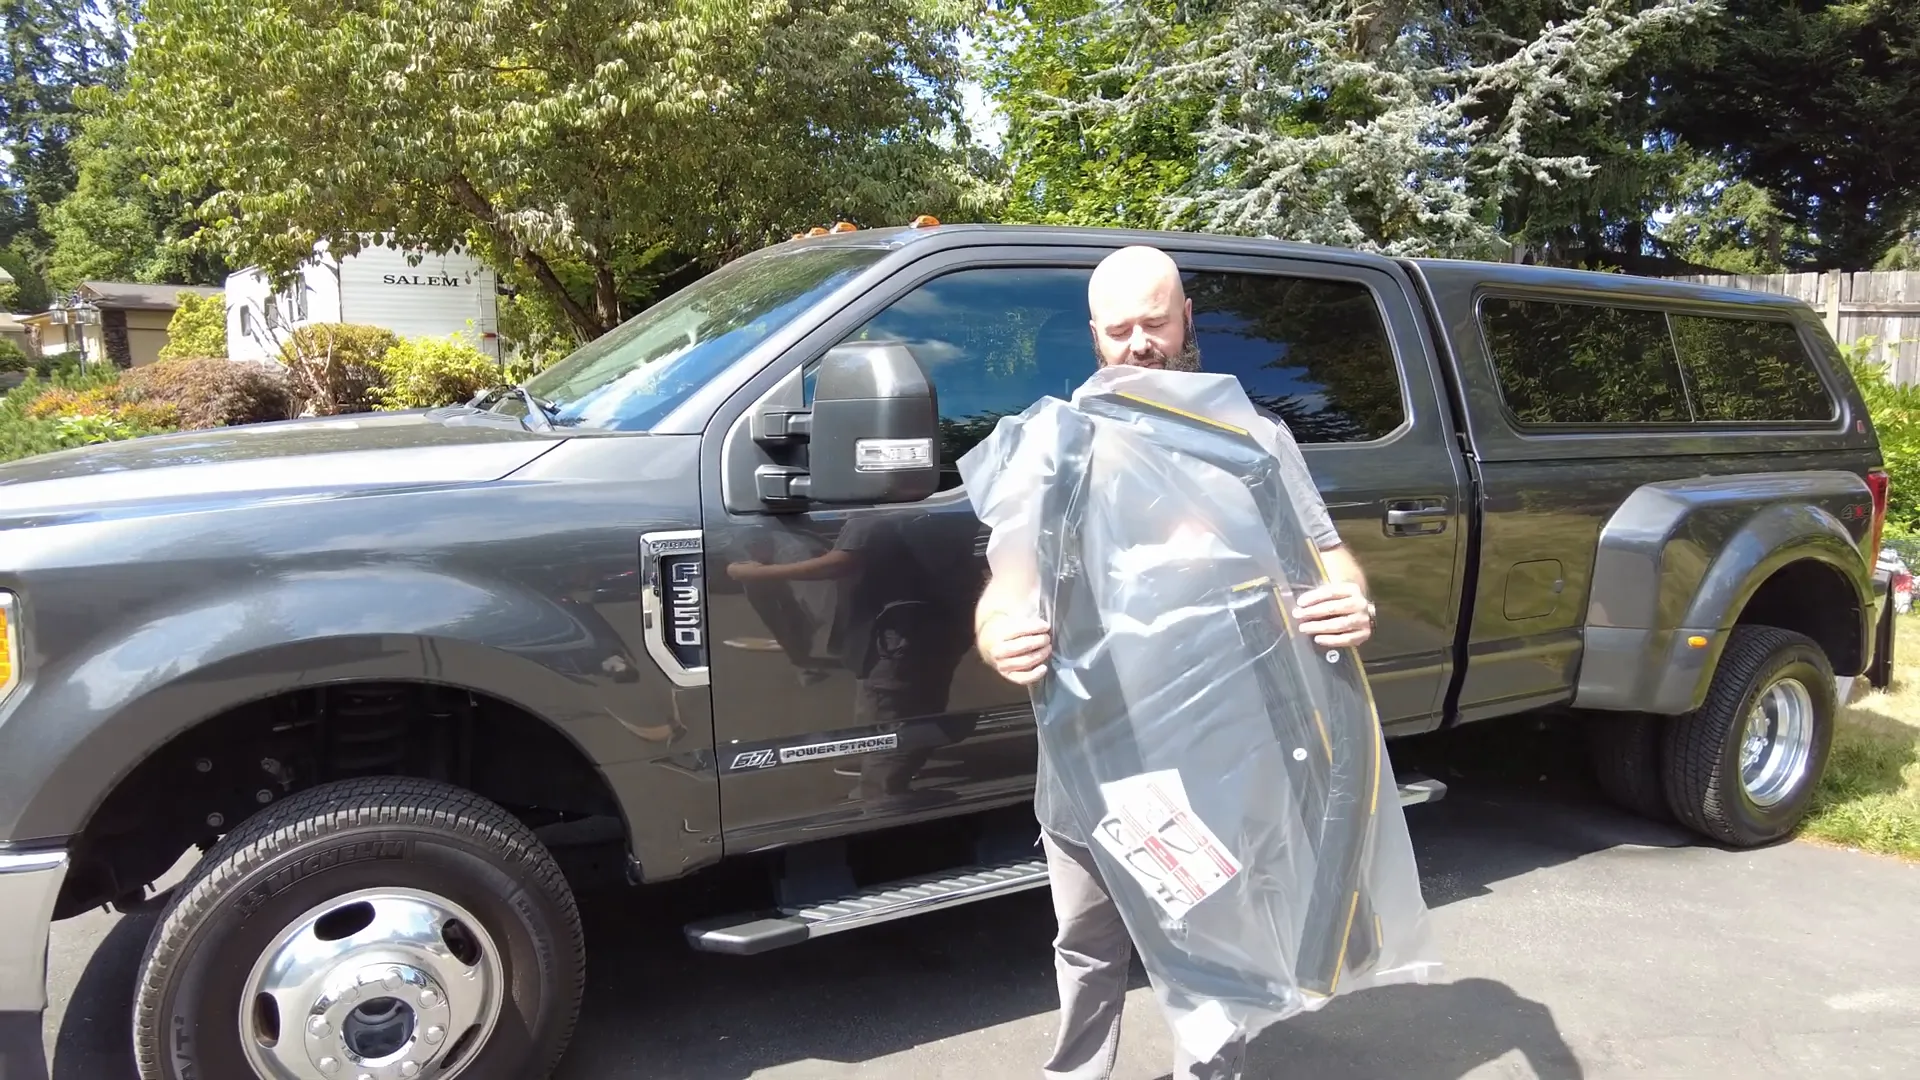
Hey, it’s Jon, “The Net Guy,” and today I’m diving into the installation of some window vent shades for my Super Duty pickup. These are one of the bestselling versions on the market, and they provide a fantastic upgrade if you’re looking to open your window without the blast of air rushing in. They also allow for fresh air circulation while keeping rain out, which is especially handy when the weather isn’t cooperating. Let’s get into it!
Considering this item? Using my Amazon affiliate link here earns me a small commission. Thanks!
Why Choose In-Channel Rain Guards?
If you’re tired of dealing with wind noise or rain when you want to enjoy some fresh air in your cab, these in-channel rain guards are the answer. Unlike traditional models that fit on the outside of your window, these fit snugly inside the window track, giving a sleek look and better functionality. They’re designed to be flexible and durable, but you do need to handle them carefully to prevent scratches or breaks.

Installation Process
Now, let’s talk about the installation process. It’s a bit unique because of the way these rain guards fit. Inside the box, you’ll find instructions, alcohol wipes, and a QR code that links to a full installation video. Each piece is marked, such as ‘L’ for left, which helps you keep track of what goes where.

Before you start, roll down your windows a bit to give yourself some room. The first step involves using a special tool and a clip to pull down the weather stripping so you can insert a spacer. This spacer is crucial as it helps guide the window into the track correctly, preventing any damage to the plastic components.

Once the spacer is in place, you can slide the vent visor into position. Don’t worry about bending it slightly if necessary; it’s designed to be flexible. Keep in mind, after installation, you won’t be able to open the window for 72 hours to allow the adhesive to set properly. This is key for ensuring a strong bond.

Final Touches
After securing the back, it’s time to clean the front channel thoroughly to remove any dirt or grime. You’ll want to install a small metal piece included in the kit, which helps keep the visor aligned and prevents it from falling into the window. Apply adhesive to ensure it sticks well, and then roll the window up to finalize the installation.
Once everything is in place, remember to wait the recommended 72 hours before using your windows again. After that, enjoy the benefits of these rain guards in all sorts of weather!
Conclusion
These in-channel rain guards not only enhance the look of your Ford Super Duty but also provide practical benefits for every drive. If you’re looking for a way to keep rain out while allowing fresh air in, these are a great investment.
Considering this item? Using my Amazon affiliate link here earns me a small commission. Thanks!
Don’t forget to subscribe to my YouTube channel at The Net Guy Reviews for more product reviews and installation tips!
